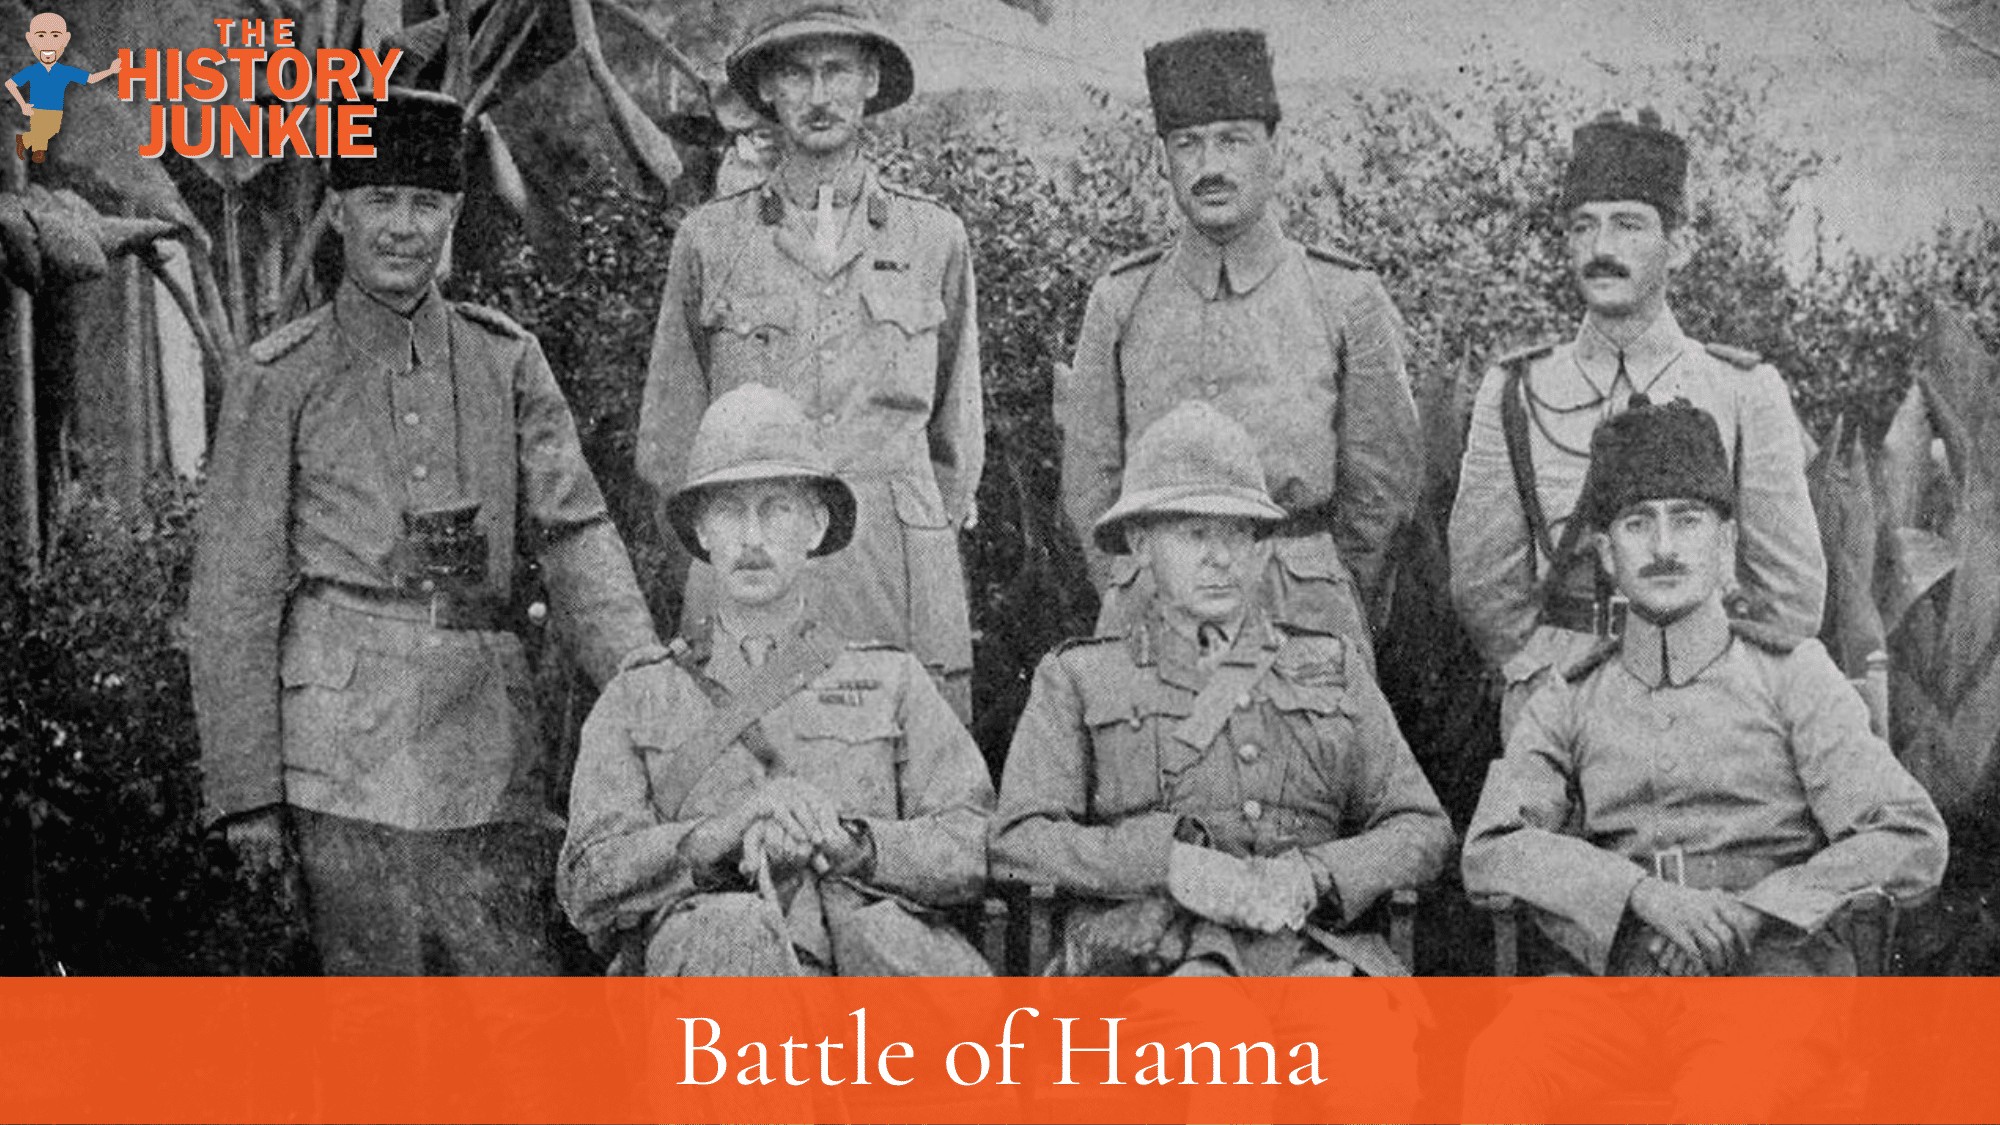
After failing twice in January 1916 to relieve Sir Charles Townshend's trapped force at Kut-al-Amara, General Aylmer was ordered by Sir John Nixon, the regional British Commander in Chief, to continue with his increasingly unsuccessful operation. This led to the Battle of Hanna.

Jump to:
Prelude
Aylmer's 10,000-strong force was traveling upstream on the Tigris River to reach Kut. However, their path was blocked by 30,000 Turkish troops under the command of Khalil Pasha.
With the Turks positioned at the Hanna Defile, just upstream from the Wadi, Aylmer knew that he could not relieve Townshend without first defeating Khalil's force.
Aylmer had already failed to take the Hanna Defile once during the Battle of the Wadi a week earlier. He then made several more attempts in heavy rain, but all of these attempts ended in failure.
On January 21, 1916, Aylmer launched a fresh attack.
Nixon had recently rejected Aylmer's proposal, which had been supported by Townshend. Townshend had said that he had less than three weeks of rations left.
The proposal was for Townshend to arrange for his healthy troops to escape from Kut by boat and attack Khalil's force from behind, leaving the sick and wounded behind at the Kut garrison.
The Battle
Aylmer's attack on the Hanna Defile on January 21, 1916, was a disaster. A weak artillery bombardment failed to soften up the Turkish defenses, and the British troops were cut down by machine gun fire as they advanced through 600 yards of waterlogged ground.
The attack was a failure, and Aylmer was forced to call it off. The British suffered 2,700 casualties, and medical supplies were in short supply.
The failure of the attack further delayed the relief of Kut, which eventually fell to the Turks in April 1916.
Aylmer knew that it was becoming impossible to relieve Townshend's force. His own force of less than 10,000 men was outnumbered by at least five to one, and he saw no possibility of success.
However, incoming regional Commander-in-Chief Sir Percival Lake, who had replaced Nixon due to illness, ordered Aylmer to try again at the Battle of Dujaila.
