On August 21, 1915, the Allies launched a last-ditch attack on Scimitar Hill and Hill 60 in an attempt to break out of the Anzac Cove and Suvla Bay beachheads and link the two sectors. The attacks were unsuccessful, and the Allies suffered heavy casualties.
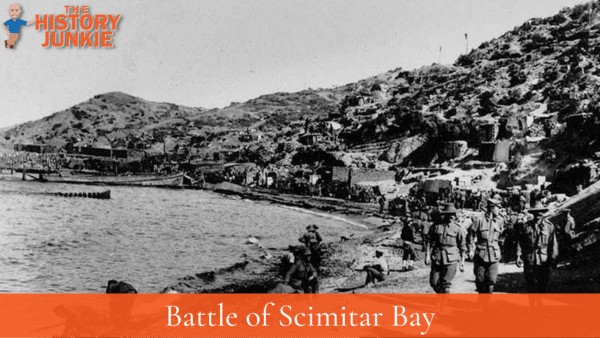
The attack on Scimitar Hill by British commander Henry de Beauvoir de Lisle was the final British offensive on the Gallipoli Front before the Allies evacuated in December 1915/January 1916.
The 29th Division, a veteran unit, was sent from Helles on the southern tip of the peninsula to carry out the attack.
The plan was to attack and capture hills to the east and north of Suvla Bay as a secondary objective but to prioritize the capture of the "W Hills" Turkish position and Scimitar Hill further south.
Success at the W Hills and Scimitar Hill would link Suvla Bay with Anzac Cove and revitalize the Allied campaign on the peninsula.
The Battle
The attack on Hill 60 was a failed attempt by the Allies to capture a prominent hill feature between Anzac Cove and Suvla Bay. The attack was led by General Cox and his 3,000 troops, but it was abandoned by Anzac commander William Birdwood on 28 August due to poor reconnaissance.
Meanwhile, the attempt to capture the W Hills also failed. The division sent to capture the hills lost its bearings and was unable to find its way.
The attempt on Scimitar Hill by the 29th Division initially succeeded in dense fog, but it was ultimately repelled by Turkish fire from the hill's far slopes. Reserves sent by de Lisle were thrown back after suffering heavy losses while charging uphill.
Allied casualties in the Scimitar Hill action reached some 5,000, many of which were incurred after British artillery shrapnel resulted in surrounding bush catching fire. Turkish losses were put at 2,600.
Demoralized by the mounting losses, Hamilton telegraphed war minister Lord Kitchener in London with a request for another batch of troop reinforcements, this time comprising 95,000 men.
Kitchener offered 40,000, but the government in London was already considering evacuation options.