The Battle of Sheikh Sa'ad followed the British defeat at the Battle of Ctesiphon in November 1915 and their humiliating withdrawal to Kut-al-Amara; British commander Sir Charles Townshend and his 6th (Poona) Division were besieged by some 10,500 Turkish forces on December 7.
Jump to:
Prelude
Townshend sent out urgent appeals for a relieving force. Sir John Nixon, the regional British Commander-in-Chief, responded promptly.
Nixon knew that Townshend's force had only two months of food supplies left, so he assembled a relief force under General Aylmer.
The force was boosted by the arrival of three new Indian infantry divisions. They were dispatched post haste to the British forward base at Ali Gharbi, 125 miles upriver from Kut.
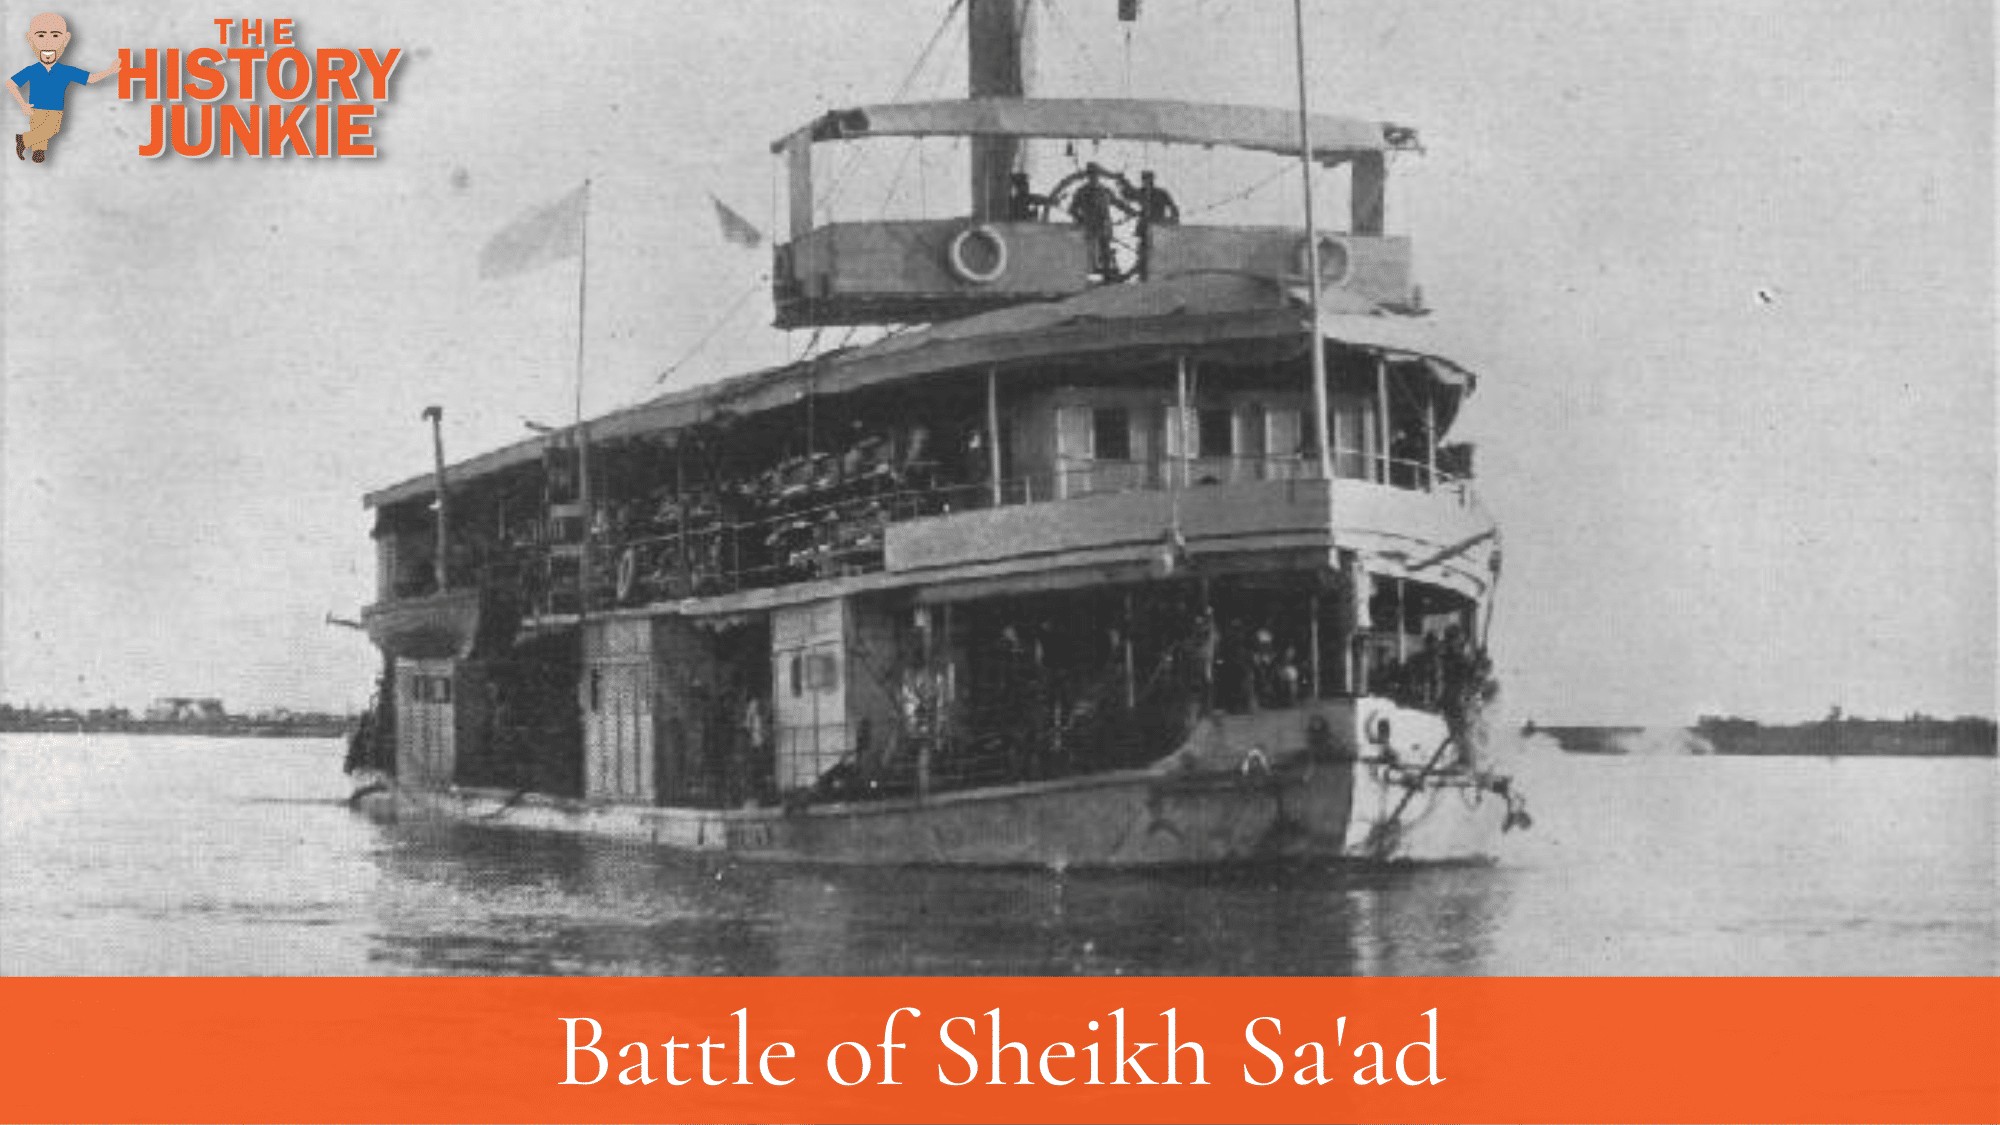
Aylmer found it difficult to make progress, as the British force was still suffering from shortages of transport, both river and road. Nevertheless, he set off on January 4, 1916, with 19,000 troops, 46 guns, three monitors, and two aircraft.
The force advanced up the Tigris River but quickly found their way blocked at Sheikh Sa'ad, just 9 miles upriver from Ali Gharbi.
Turkish commander Nur-Ur-Din had effectively blocked Aylmer's path by placing approximately 22,500 troops and 72 guns on both banks of the Tigris.
The Battle
Aylmer's initial attack on January 6, which was directed against both banks of the Tigris, was a rapid failure. The British suffered heavy losses. A repeat of the attack the following day, once the bulk of Aylmer's force had arrived, also failed.
A British advance along the east bank was outflanked by a counter-attack authorized by Nur-Ud-Din. On the night of January 8 and 9, Aylmer repeated the attack yet again.
He was surprised to discover that the Turkish trenches were unoccupied. The Turkish forces had withdrawn overnight for unknown reasons.
Nur-Ud-Din was unable to justify his decision to retreat, so he was summarily dismissed and replaced by Khalil Pasha.
The British force was exhausted and had low morale after suffering around 4,000 casualties in the engagement.
They had not made any significant gains, and the operation to relieve Townshend at Kut had not been notably advanced.