• Skip to primary navigation
  • Skip to main content
  • Skip to primary sidebar
The History Junkie
  • Military History
    • Revolutionary War
    • War of 1812
    • Mexican-American War
    • Civil War
    • World War 1 Timeline
    • World War 2 Timeline
  • Presidents
  • Age of Exploration
  • Native Americans
  • The West
  • About
menu icon
go to homepage
  • Presidents
  • Wild West
  • Military
  • Native Americans
  • Age of Exploration
  • Civil War
  • Revolutionary War
  • Mexican-American War
  • War of 1812
  • World War 1
  • World War 2
  • Family Trees
  • Explorers and Pirates
  • About Me
search icon
Homepage link
  • Presidents
  • Wild West
  • Military
  • Native Americans
  • Age of Exploration
  • Civil War
  • Revolutionary War
  • Mexican-American War
  • War of 1812
  • World War 1
  • World War 2
  • Family Trees
  • Explorers and Pirates
  • About Me
×
Home » World War 1

The Battle of Hill 60 in World War 1

Published: Jun 5, 2023 · Modified: Oct 29, 2023 by Russell Yost · This post may contain affiliate links ·

The Battle of Hill 60 in World War 1 was led by Anzac commander William Birdwood and was intended to support General Henry de Beauvoir de Lisle's more significant attack on Scimitar Hill on the same day.
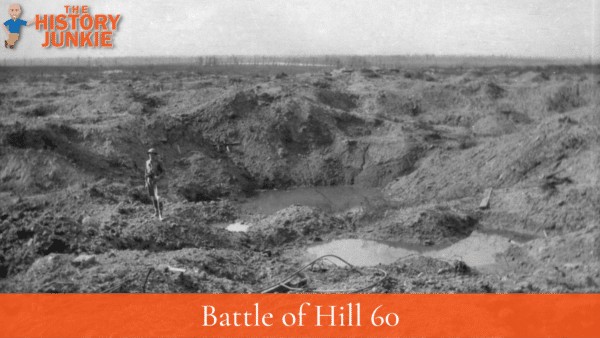
Battle of Hill 60

Both attacks were a last-ditch effort by the Allies to break out of the Anzac Cove beachhead and link up with the Allied forces at Suvla Bay.

Hill 60, named after its height in meters, was a prominent feature between Anzac Cove and Suvla Bay. The Allies wanted to capture it to improve communications between the two sectors.

Unfortunately, Birdwood's forces were weakened by dysentery, exhaustion, and battle casualties. He could only muster 3,000 troops for the attack.

The Battle

The Allies' reconnaissance of Hill 60 was complex due to Turkish snipers. On the evening of August 21, Cox attacked the western slopes of the hill across a shallow valley.

The attack failed, and the Allies suffered heavy casualties from Turkish machine gun fire. The following morning, the Allies attacked again but were unsuccessful.

Despite the heavy losses, Cox decided to attack again on August 27. After 36 hours of fighting, the Allies captured the Turkish trenches around the hill.

However, the Allies' poor reconnaissance was revealed when a previously unknown Turkish trench line opened fire on Cox's force.

Anzac commander William Birdwood abandoned the attack on the same day. The Allies had suffered 2,500 casualties.

Primary Sidebar

Categories

Footer

↑ back to top

About

  • Privacy Policy
  • Contact
  • About Me

Popular

  • Revolutionary War
  • Colonial America
  • Political History
  • Native American History
  • Presidents of the United States
  • Civil War
  • Famous Family Trees
  • Explorers and Pirates
  • The West
  • Ancient History
  • Sport History
  • Holiday History
  • State History

As an Amazon Associate, I earn from qualifying purchases.

Copyright © 2023 The History Junkie